Final Project: http://ng-places-maverick.surge.sh/
I have been playing around with Angular a lot lately and a lot of things that seemed unnecessary in the beginning is starting to make sense. Angular is a well thought out framework, and although it is very opinionated, it follows some of the industry best practices when it comes to structuring the frontend of a web application. It was fascinating to discover how much focus is there on code reusability both within a project and across multiple projects! I would like to show you an example, using Angular directives.
What is a directive?
A directive allows you to attach a behavior to DOM elements. This behavior could be as simple or as complex as you’d like.*ngFor and *ngIf are examples of built-in directives in Angular. In this article, I will show you how to make a custom Google place autocomplete directive that you can attach to any text input.
Before we begin…
To use Google places autocomplete API, we need an API key. To obtain an API key, please go to the Google maps platform and create a new project.
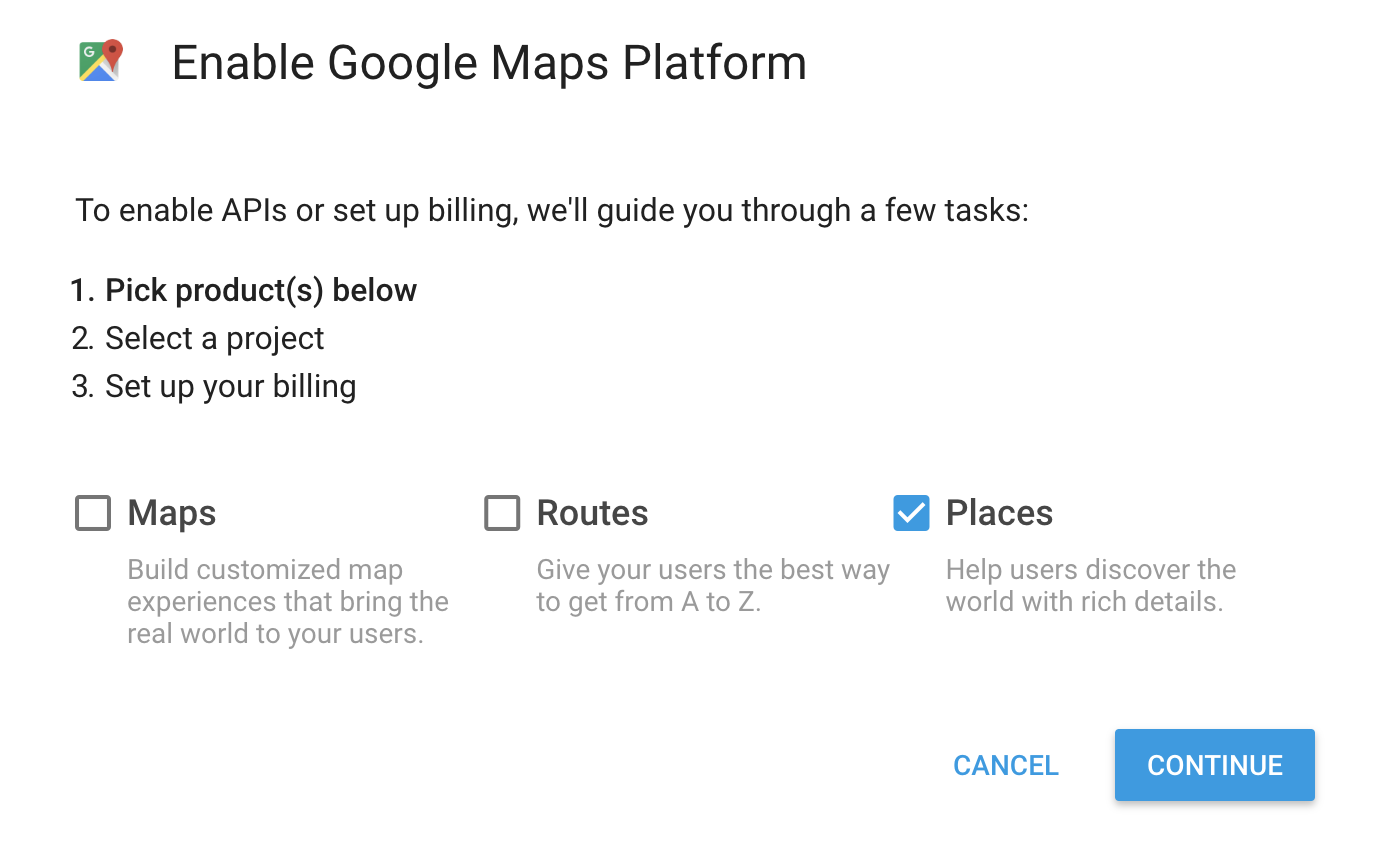
Once you signup, you can find your API key from the developer console. Note this API key down for later.
Setting up an Angular project
Install Node.js® and npm if they are not already on your machine. Now, install Angular CLI globally using..
npm i -g @angular/cli
Once this is done, let’s create a new Angular project with the following command:
ng new google-places-example
Now go into your project directory and start the Angular development server:
cd google-places-example
ng serve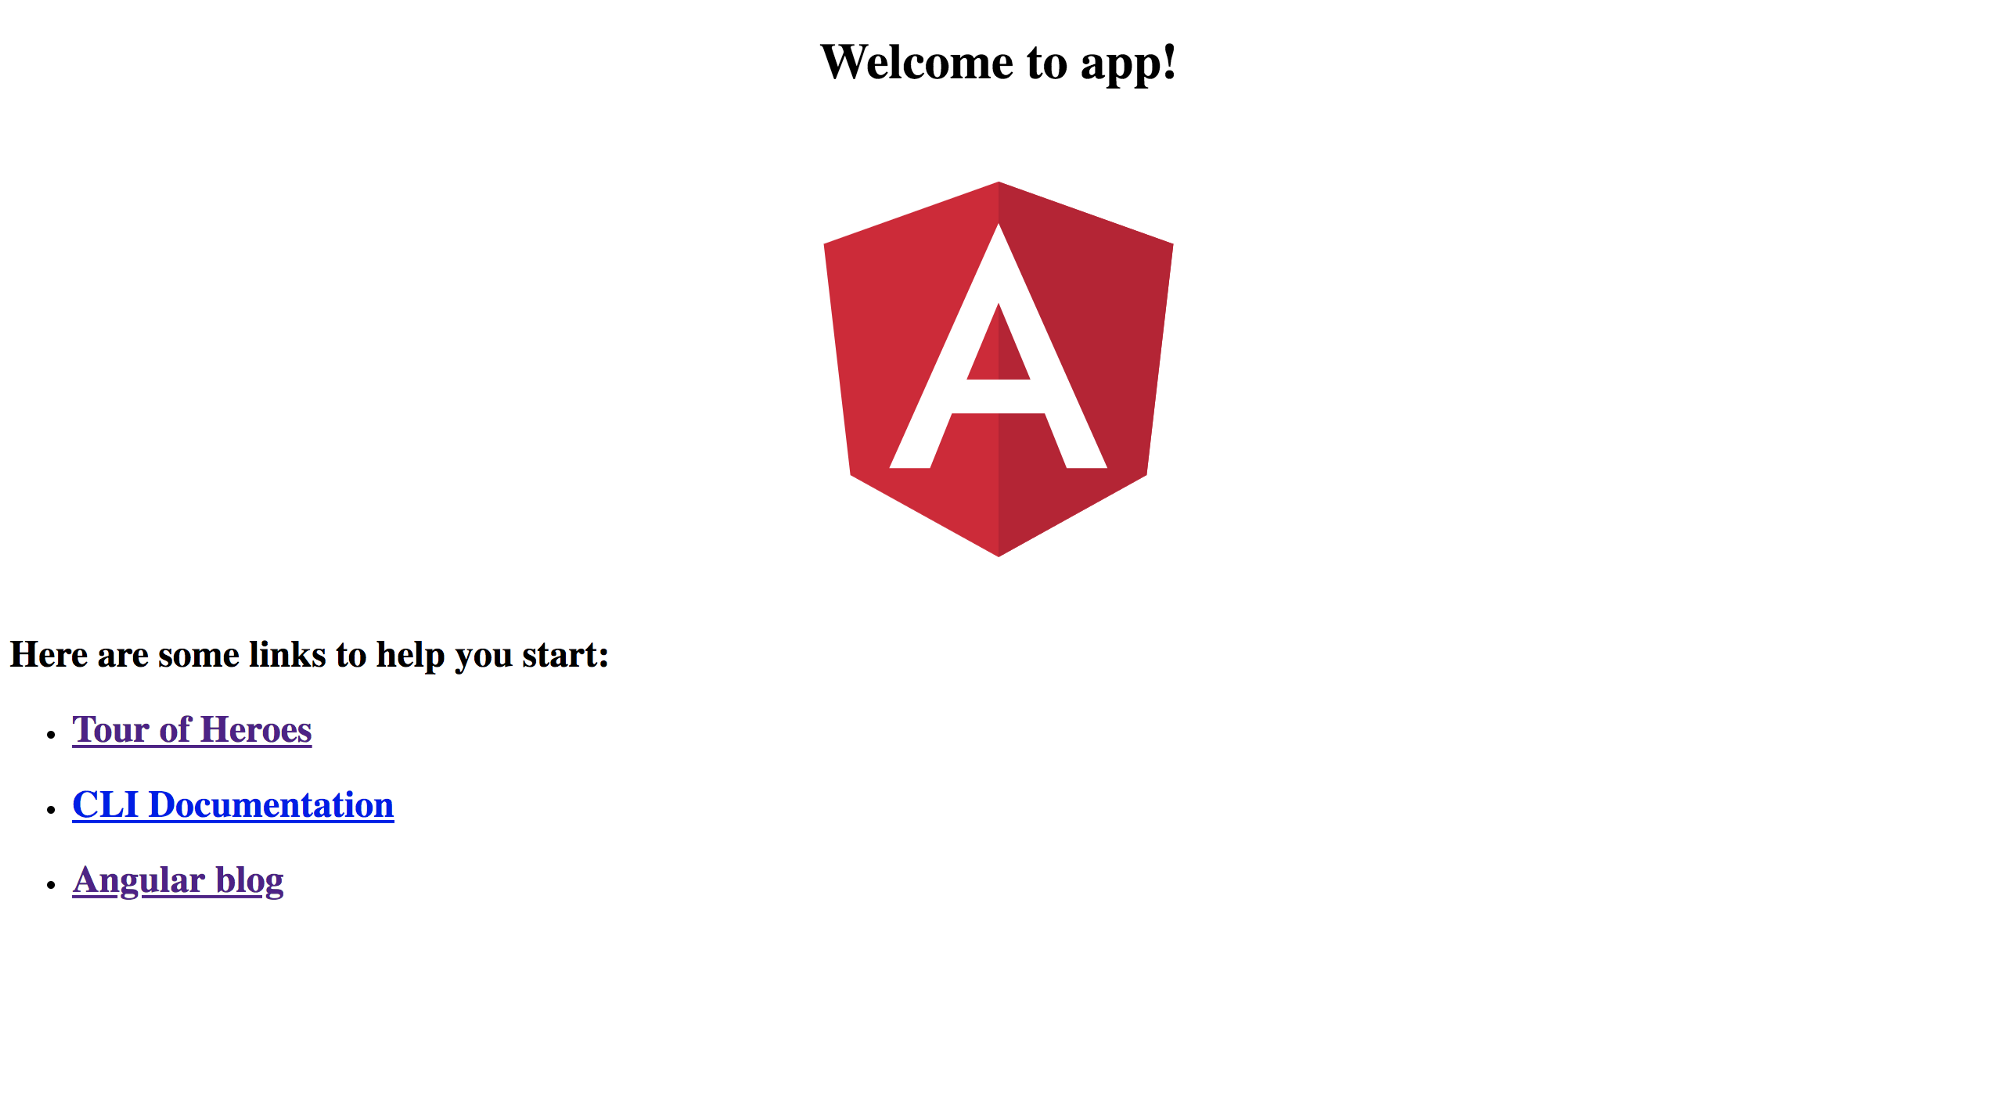
If you go to the server running at http://localhost:4200, you will see the above screen.
Nice! Now let’s create an input field to which we will attach the Angular directive. Open the Angular project in your favorite text editor and open the file src/app/app.component.html.
Change the contents of the file to the following
Now, let’s add some styling to make our input field look nice. Edit your src/app/app.component.css to the following
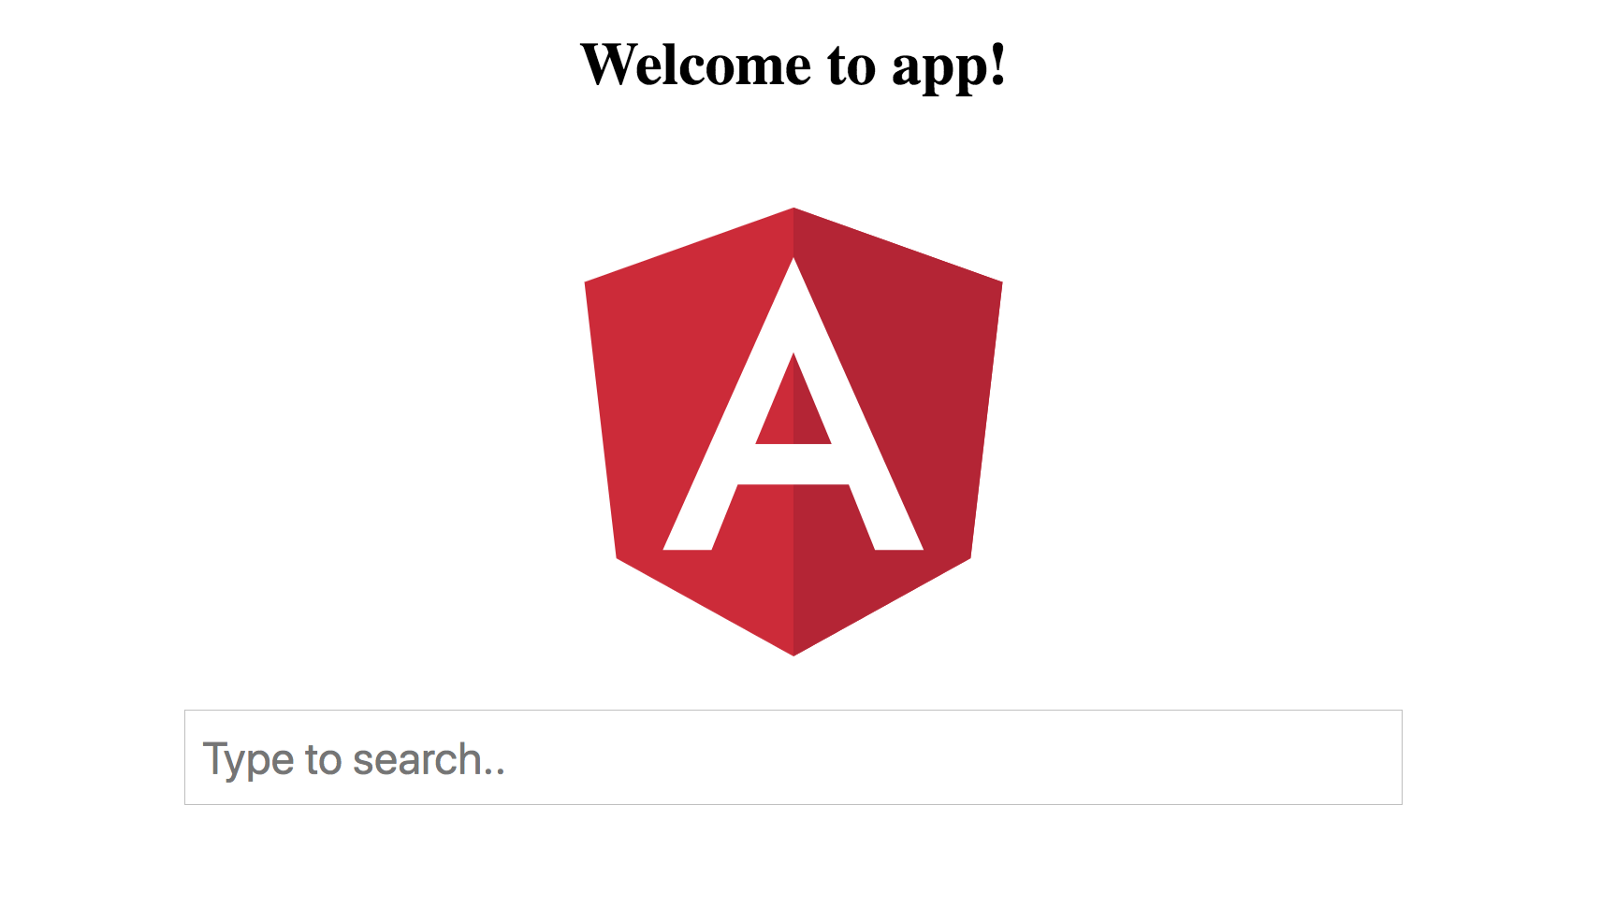
After this, if you check your development server at http://localhost:4200, you should see something like this.
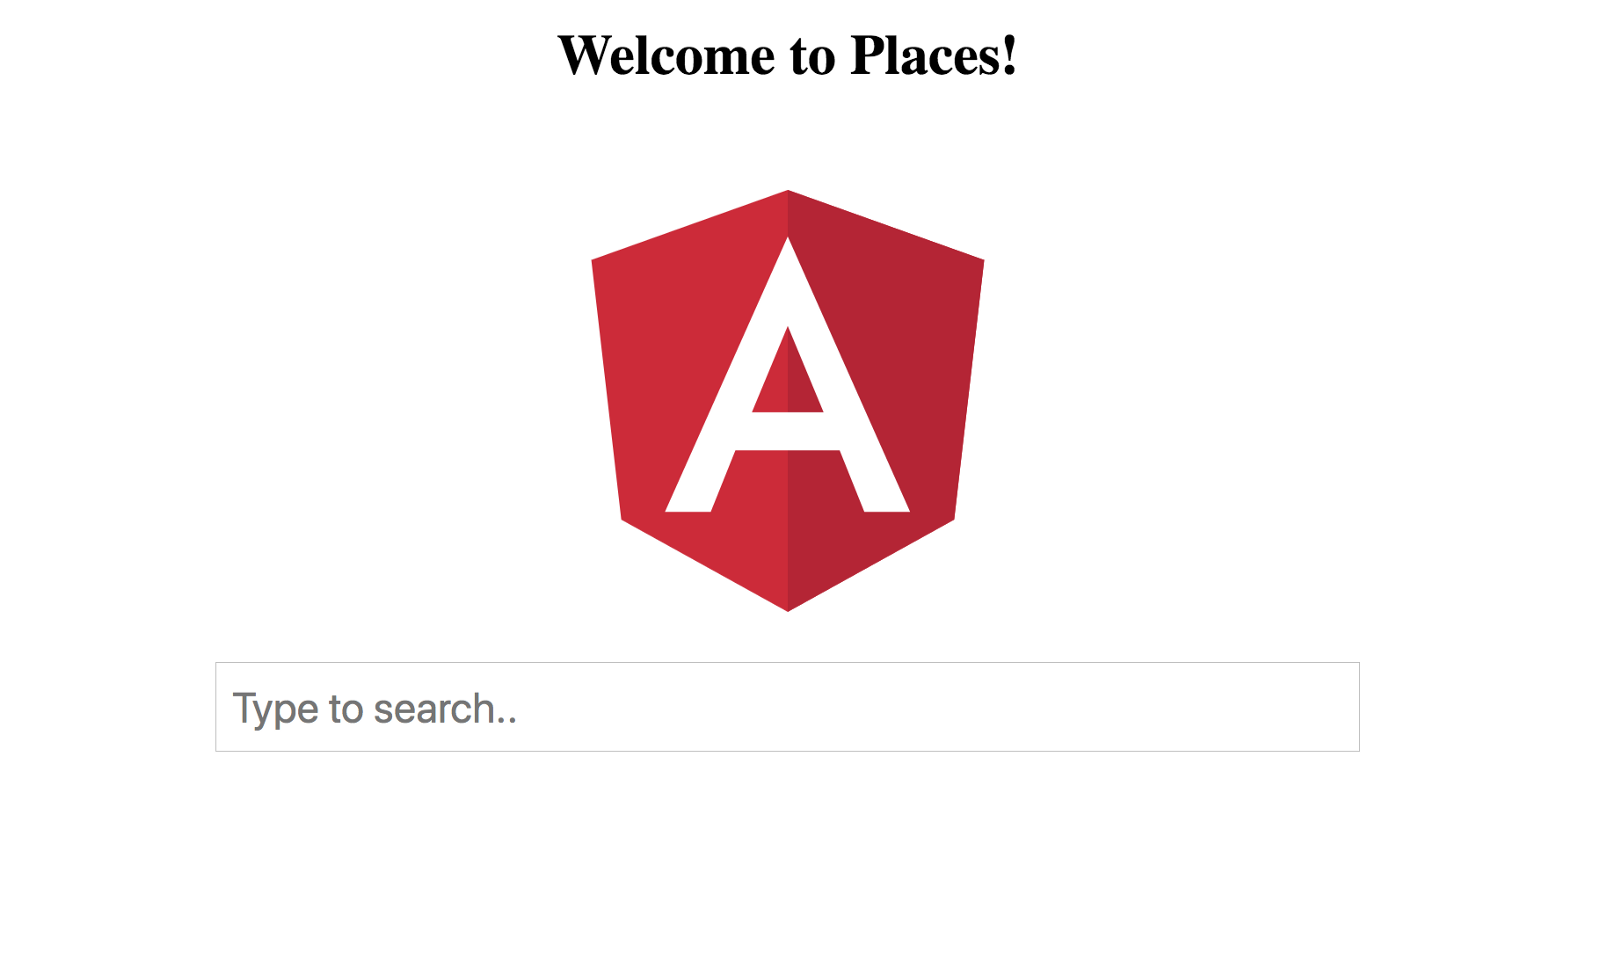
Nice, but “app” is a rather boring name for our app :D. Let’s give it a more descriptive name. Open src/app/app.component.ts and change the titlevariable to whatever you like. I am going to call my app “Places”.
Cool, now let’s start with the directive.
Generating a directive using Angular CLI
ng g d google-places
Here, ‘g’ is short for generate and ‘d’ is short for directive. This should generate two files in src/app called google-places.directive.ts and google-places.directive.spec.ts. All files ending with spec.ts are containers for writing unit tests.
When we place a directive in an element, we get access to a reference to that element in our directive. We will use this reference to attach the autocomplete functionality to the input element. Now, modify the google-places.directive.ts to the following
Please note that I have changed the name of the selector as I am not a fan of the autogenerated one. Here, we are getting access to the ElementRef made available to us via the constructor, and storing the nativeElement property into a variable, so that we can pass it to google places autocomplete constructor. Once you’re done, you have to modify the index.html found in src folder of your project to add the google places script. Place the following script between the <head> tag.
<script src="https://maps.googleapis.com/maps/api/js?key=YOUR_API_KEY&libraries=places" async defer></script>
Replace YOUR_API_KEY with the API key you had noted down from earlier. Then, restart the Angular development server.
Now we need to add the directive to our input tag. Modify the input in src/app/app.component.html to the following
<input
google-place
type="text"
class="google-place-input"
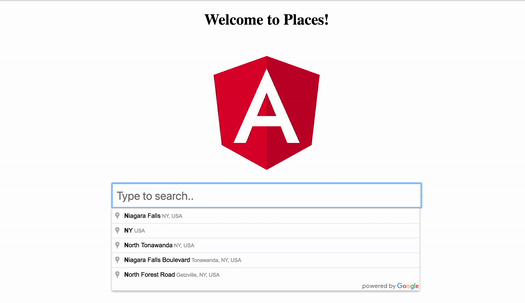
placeholder="Type to search..">All the change we made was to add the directive selector to the input. Save the file, go to the development server and start typing. You should see the following..

Viola! Now you have autocomplete on your very own input field. You can use this autocomplete directive as many times as you want, wherever you want!
Sending events from the directive
Now that we have an awesome autocomplete, we might want to send a formatted address instead of a string back to the input field. Let’s see how to do it.
Modify your google-places.directive.ts like so
We have done two things here:
- We created a function
getFormattedAddresswhich takes a google place object as an argument and parses it to create a useful address object. - We added an event listener to the autocomplete API, which will fire every time the place is changed, and we are using this event listener to emit our own event which will parse the place object using the above
getFormattedAddressand send the resulting address object back to the input element.
We have exposed this event through an onSelect event emitter. Now let’s use this event emitter in our input.
Modify the src/app/app.component.ts to the following:
We have created a function called setAddress which we will call everytime the event emitter emits a new value. We will store the object received and its keys to display it back to the user. Now, let’s modify the app.component.htmlto consume the event and display the result:
Check the development server and now we will see the following result:
Awesome! We have created our very own custom google-place directive, which can provide autocomplete to any input field, and emit a formatted address object from the input field.
You can find this Angular project in my GitHub repo. Thanks for reading!